The php.ini file is the standard configuration file in PHP-based applications. It is used to set upload sizes, display errors, resource limits, file timeouts, and many other things to manage the Apache server.
You already have default PHP settings installed on your server. There’s no need to create or edit a php.ini file unless you need to modify one or more server settings.
However, if you’d like to make changes, keep reading to know how to edit existing php.ini files or create new ones.
How to Set Up a Custom php.ini File on SPanel
Php.ini files contain directives to manage PHP-based applications. You can create one or multiple php.ini files that affect how your website will function.
A php.ini file can be in different folders. For instance, you might have one custom php.ini file in the /home/username/public_html directory, and another one for image files in the /home/username/public_html/images directory.
To create a custom php.ini file, you’ll need to access the associated directory.
Use the following steps to set up a custom php.ini file in your SPanel :
- Log in to your SPanel account.
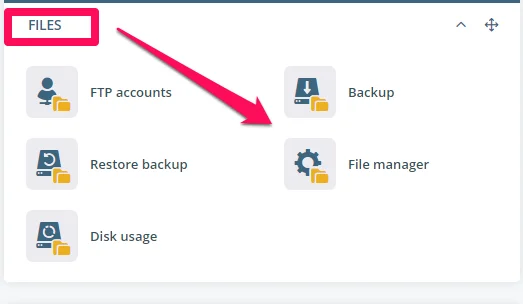
- Under Files, click on File manager

- If you want to modify a PHP file, now is the time to navigate the public_html directory and edit the desired folder. The changes you make will only affect that folder and nothing else.
But, if you want to create custom php.ini files, go on with the next steps.
- Select public_html

- Scroll down to the toolbar beneath the list of PHP files and hit the “+” icon.

- In the pop-out, click New File.

- Input php.ini as the new name and press OK.

- Next, add PHP directives. Use this complete list of PHP directives to guide you. Then, save your edits.
- In your web browser, open the phpinfo file and look for one of the directives you set. Ensure that the modifications are visible.
While you can build custom php.ini files for different directories on your website, you can choose to configure settings in a single php.ini file and then apply it to the entire site.
The following section explores how to do this in a bit.
How to Modify php.ini Settings on SPanel
Use these steps to configure php.ini settings:
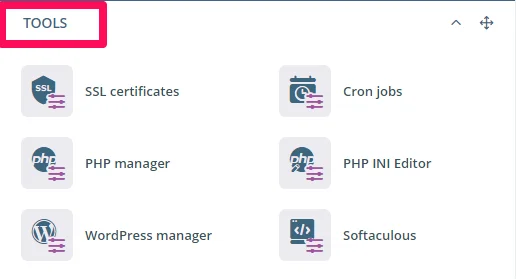
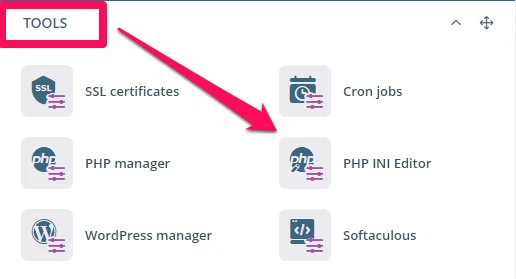
- In your SPanel, navigate to the Tools section

- Click on PHP INI Editor.

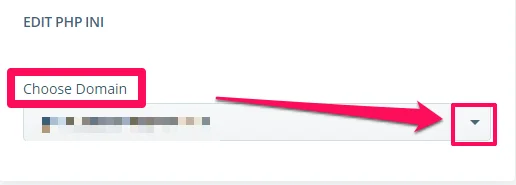
- Choose the desired domain if your account hosts multiple domains or subdomains.

- On the Editor page, overwrite custom values for PHP variables listed under Basic Editor.

- Hit Apply to save changes.
To configure it manually (from scratch), click on the Advanced Editor, and enter your PHP directives there.
Keep in mind that if you enter an incorrect PHP directive or settings, it will affect your website.
Just to be sure, take note of these directives –
Upload_max_filesize sets a limit on the maximum file size that can be uploaded via PHP. This choice affects the upload or attachment system of various software running on your server.
You should change the value to something a bit higher than the default value. Use a number followed by M to specify the size in megabytes.
Memory_limit places a limit on how much memory a PHP script can use at a particular time.
Max_execution_time setting prevents the server from being slowed down by poorly written scripts. The value is set to 30 seconds by default; if you increase it too much, your server’s performance will suffer.
Comparably, max_input_time limits the amount of time a script can process data input, such as file and forms uploads. The default value is set to -1, which means the max_execution_time is used instead. Reset the value to 0 for unlimited time.
Allow_url_fopen allows you to open a URL. It activates the URL-aware fopen wrappers that will enable you to access domain files.
We suggest that you don’t make any changes to the advanced settings until you’re sure you’ve got things under wraps.
